What Are the 5 Stages of Home Renovation? A Homeowner's Guide
So, you've decided to renovate your home. The Pinterest board is full, the budget feels right, and you want to get started. But here is the truth from years of work: most renovation problems start weeks before any wall comes down.
Recent surveys show that renovation projects often cost more or take longer than expected — in fact, about
78% of U.S. homeowners reported going over budget and 41% experienced significant delays on their last renovation. Most of those overruns trace back to skipped or rushed early stages, not bad luck on demo day.
This guide walks you through the 5 stages of a home renovation. You will learn what happens at each step, what your contractor should handle, and where homeowners most often get tripped up.
We will cover each stage in order. We will flag the common mistakes. And we will show you what a well-run renovation looks like from the inside.
What Are the 5 Stages of Home Renovation?
The 5 stages of home renovation are:
- Planning & Design — Define your goals, set a realistic budget, and finalize design plans.
- Hiring & Permits — Vet and hire a registered general contractor, then pull all required permits.
- Demolition & Prep — Clear out the existing space and prepare the site for new work.
- Construction & Build — Frame, install systems like electrical, plumbing, and HVAC, then complete structural work.
- Finishing & Final Walkthrough — Add finishes, do a punch-list walkthrough, and close out the project.
A clear stage-by-stage process is what separates a smooth renovation from a stressful one.
Stage 1 — Planning & Design
Most renovation success or failure is decided here, before any tools come out. The planning stage is where you turn a vague idea into a clear scope your contractor can build.
Start with the
why. Are you renovating for daily function, long-term value, lifestyle, or resale? Each answer points to different choices on layout, finishes, and budget. A kitchen built for resale looks very different from one built for a family that cooks every night.
Next, set a realistic budget. Most homeowners under-budget by skipping contingency and soft costs. A simple way to pressure-test your number is to apply the 30% rule for renovation budget before you finalize anything.
Then build two lists side by side so trade-offs get easier later.
- Must-haves: items the renovation must deliver to be worth doing
- Wish list: items you would love but could cut if costs climb
Finally, decide what kind of project this really is. A surface refresh and a full layout change are not the same job. Read up on the difference between renovation and remodeling so you brief contractors with the right word.
One mistake we see often in Star and across Ada County: homeowners fall in love with a finish before they figure out the layout. Pick the floor plan first. The tile, paint, and hardware come later.
Stage 2 — Hiring a Contractor & Pulling Permits
Hiring should happen
before you finalize your design, not after. A good
contractor will flag what your plan will actually cost, where the layout fights the structure, and which finishes blow the budget. That input shapes the design while changes are still cheap.
When you start vetting contractors, look at more than the bid number. In Idaho, general contractors are required to register with the state, not hold a license. Check that the contractor is registered with the Idaho Division of Occupational and Professional Licenses (DOPL), carries current insurance, and has built similar projects nearby. Communication style matters too. You will be working with this team for months.
Before you sign anything, verify these five items:
- Active Idaho contractor registration with the Idaho Division of Occupational and Professional Licenses
- Current general liability and workers' compensation insurance
- Local references from projects similar to yours
- A written scope of work with clear allowances and exclusions
- A payment schedule tied to milestones, not a calendar
Permits come next. Your contractor should pull them, not you. Permits trigger inspections, and inspections protect you when it comes time to sell, refinance, or file an insurance claim. Skipping them to save a few hundred dollars can cost thousands later.
In the City of Star, small residential permits typically take
2–4 weeks to review, and larger residential projects run about 4 weeks. Each revision or correction adds another 3–4 weeks, per the City of Star Building Department. A contractor who works here regularly submits clean applications the first time, which keeps your project moving.
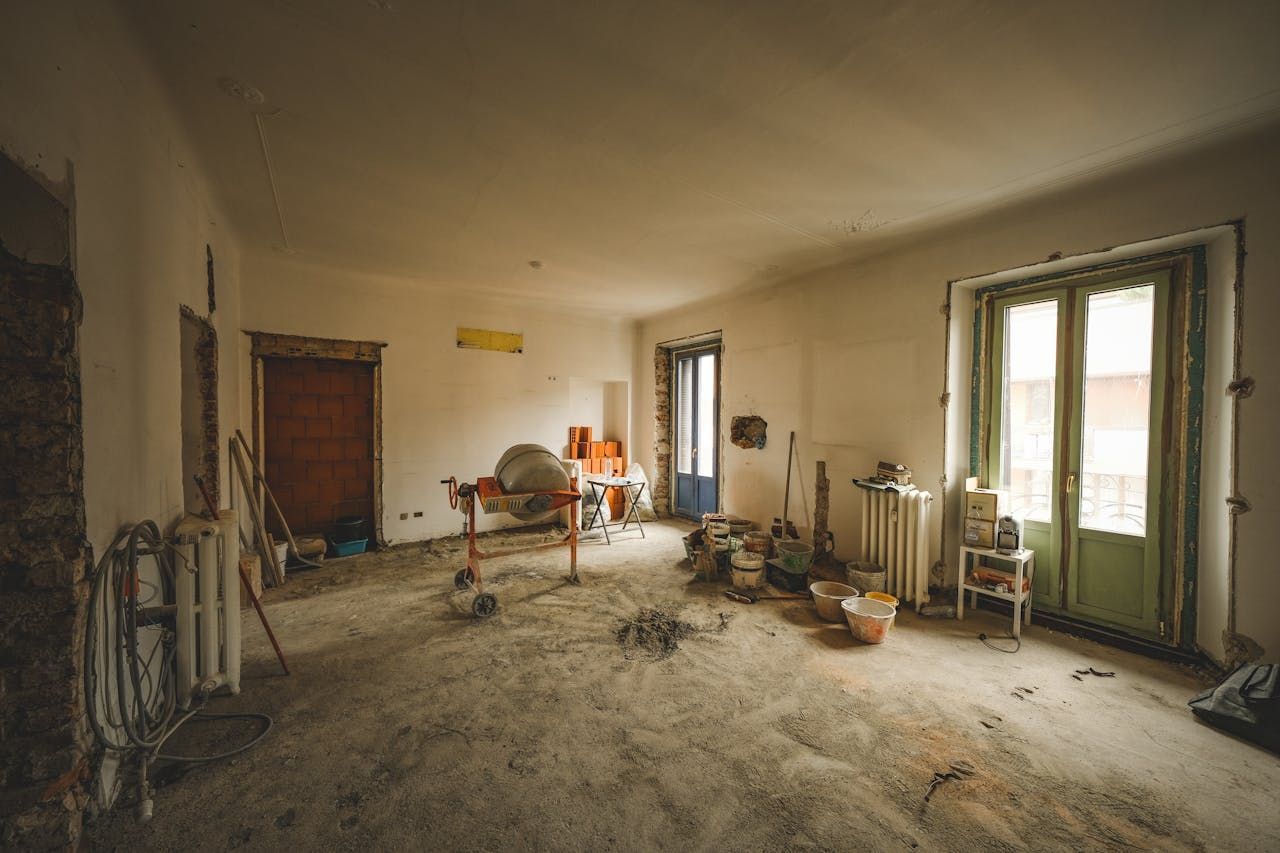
Stage 3 — Demolition & Site Prep
Demolition looks like the fun stage. The real work is the prep that happens around it. Good prep is what keeps dust out of your living room and surprises from blowing up your timeline.
Demo can be selective or full. Selective demo removes only what is changing, like a single wall, the cabinets, or the flooring. Full demo strips a space down to studs and subfloor. Your scope and budget decide which one fits.
Before any sledgehammer swings, your contractor should set up containment. That means plastic walls, floor protection, sealed HVAC vents, and a clear path from the work zone to the dumpster. Dust control is not a nice-to-have. It protects your furniture, your air, and your family during the build.
Demo is also when hidden issues surface. Common ones include:
- Outdated knob-and-tube or aluminum wiring
- Water damage behind tile, tubs, or under flooring
- Mold inside wall cavities or under subfloor
- Rot in framing or rim joists
- Asbestos in homes built before the early 1980s, often in popcorn ceilings, old flooring, or pipe wrap
A contractor who has worked on older Treasure Valley homes plans for these finds. We build a contingency line into every renovation budget so a discovery does not stall the job or trigger a panicked change order.
Site prep wraps the stage. That covers utility shutoffs, material deliveries, dumpster placement, and a quick conversation with neighbors about parking and noise hours. Small courtesies here keep the rest of the project running clean.
Stage 4 — Construction & Build
This is the longest stage of any renovation, and the one where realistic expectations matter most. Construction follows a strict order. Skip a step or rush an inspection, and the work behind it has to be torn out.
The standard build sequence runs like this:
- Rough framing — walls, headers, and any structural changes
- Mechanicals — electrical, plumbing, and HVAC rough-ins
- Insulation
- Drywall, tape, and texture
Inspections happen
between these sub-stages, not at the end. A framing inspection clears the way for mechanicals. A mechanical inspection clears the way to close the walls. That order protects you. It also means a delayed inspector can pause the whole project.
Schedules slip for three reasons in our market: weather, materials, and inspector availability. Star and the wider Treasure Valley have grown fast, and inspection windows have stretched with that growth. A good contractor builds buffer days into the schedule for all three.
Here is what realistic timelines look like by project type:
| Project type | Typical timeline |
|---|---|
| Room addition | 6–10 weeks |
| Kitchen renovation | 8–12 weeks |
| Whole-home renovation | 4–6 months |
| New home build | 6–12 months |
Communication is the other half of this stage. You should hear from your contractor weekly at minimum. A short update on what got done, what is next, and what decisions you owe them keeps small issues from becoming change orders.
Speaking of change orders — they are the fastest way to blow a budget. Once framing is up and mechanicals are roughed in, moving an outlet, a wall, or a window costs far more than it would have cost on paper. Lock your design before this stage starts.
Stage 5 — Finishing & Final Walkthrough
The finishing stage is what you actually see and touch every day. It moves fast on paper but slow in practice, because the details are what people notice for the next twenty years.
Finishes go in a rough order: flooring, trim, paint, cabinetry, countertops, plumbing fixtures, light fixtures, and hardware. Each one depends on the one before it. A delayed tile shipment can hold up paint, which can hold up trim. Your contractor should track lead times early so finish week is not a scramble.
When the last fixture is in, your contractor cleans the site. Ask up front which standard you are getting. "Broom-ready" means swept and free of debris. "Move-in-ready" means wiped surfaces, vacuumed floors, and clean glass. The two are not the same, and the difference should be in your contract.
Then comes the punch list walkthrough. You and your contractor walk every room together with a notepad. Anything that does not meet the spec goes on the list. Work through it room by room:
- Paint touch-ups, drywall dings, and trim gaps
- Doors and drawers — alignment, soft-close, hardware
- Outlets, switches, and light fixtures all working
- Plumbing fixtures — no drips, full hot and cold flow
- Caulking and grout lines at tubs, showers, and counters
- HVAC vents, registers, and thermostat function
- Windows and exterior doors — locks, seals, weatherstripping
Final inspections close out the permit file. On larger projects, the city issues a certificate of occupancy once all inspections pass. Keep both the inspection records and your contract in one folder. You will want them when you sell.
Last, ask about the warranty. We document the warranty period for workmanship and the separate manufacturer coverage for products. If something shifts or fails inside that window, you call us first.
Common Mistakes Homeowners Make During a Renovation
Even with five clear stages, renovations still go sideways. The problems are predictable, which means most of them are preventable. Here are the five we see most often:
- Under-budgeting and skipping contingency. A 10–20% contingency is standard for a reason. Old homes hide surprises, material prices shift, and small scope additions add up. Going in without a buffer turns a normal find into a project-stopping crisis.
- Making design changes mid-construction. Moving a wall on paper costs a pencil eraser. Moving it after framing and mechanicals are in costs thousands and pushes the schedule. Lock your layout, fixtures, and finishes before demo day.
- Skipping permits to save money. Unpermitted work shows up at the worst times — during a sale, a refinance, or an insurance claim. Insurers can deny coverage on work that was never inspected. The savings are never worth it.
- Hiring on price alone. The lowest bid usually leaves something out of the scope, and you pay for it later as a change order. Compare bids line by line, not bottom line to bottom line.
- Living in the home during a major renovation. It can work for a single bathroom or a basement. It rarely works for a kitchen or a whole-home project. Plan a temporary move for big jobs so the schedule does not stall around your daily life.

What Should Be Done First When Renovating a Home?
The first three steps are planning, budgeting, and contractor selection — in that order, and
before any design gets locked in. Most renovation regret traces back to flipping this sequence.
Hiring early is the single biggest lever you have. A contractor brought in during planning will catch structural limits, code issues, and budget gaps while changes still cost nothing. The same input after design lock-in costs you time and money.
Here is what to do first, in order:
- Define your goals and a working budget. Decide why you are renovating and what number you can actually spend, including a contingency.
- Choose a registered local contractor. Vet them, check their Idaho DOPL registration, confirm insurance, and review references from projects similar to yours.
- Refine the design together. Use your contractor's input to shape a scope that fits both your goals and your budget.
A good initial consultation should feel like a working session, not a sales pitch. We walk your space, ask about how you use it, talk through realistic budgets, and flag anything in your plan that will cost more than you think. You leave with clearer numbers and a clearer scope, whether you hire us or not.
From planning to final walkthrough, ATP Construction handles every stage. Call (208) 741-4371 or contact us and request a quote today!